Article
What is Rapid Prototyping? Methods, Strategy, and Best Practices for Product Development

December 15, 2025 ...

Rapid prototyping is more than just a manufacturing step: it is a strategic lever for accelerating product development, reducing risk, and improving final product quality. But the question “What is Rapid Prototyping?” is nuanced. While at its core, rapid prototyping is a group of techniques used to quickly fabricate physical parts, models, or assemblies directly from three-dimensional computer-aided design (CAD) data, the processes and protocols an engineering team follows will vary from project to project.
The primary goal of rapid prototyping is to accelerate time to market and reduce the cost of failure by enabling multiple design iterations in a short timeframe. Here are three additional strategic reasons why the Fresh engineering team believes rapid prototyping matters:
- Speed to Validation: Rapid prototyping compresses development cycles by transforming CAD concepts into physical models within days or weeks rather than months. This acceleration allows teams to test functionality, gather user feedback, and validate core assumptions early before committing significant resources to full-scale production.
- Risk Mitigation (through iteration): By enabling rapid design iteration and cost-effective testing, teams can identify and resolve engineering challenges during the prototype phase. This process-driven approach dramatically reduces the risk of costly failures downstream and ensures that only validated designs move toward manufacturing.
- Go-to-Market Confidence: Rapid prototyping produces tangible proof-of-concept models that an organization’s stakeholders, investors, and customers can evaluate firsthand. This visibility into both form and functionality accelerates stakeholder collaboration, validates product-market fit faster, and enables teams to move toward full-scale production with greater confidence.
What is rapid prototyping in engineering?
Rapid prototyping enables engineers and designers to efficiently transform digital concepts into tangible prototypes, creating proofs of concept that allow for rapid visualization, testing, and refinement before committing to full-scale production.
Rapid prototypes—significantly less expensive to produce than fully functional builds—serve to demonstrate the form, fit, function, and manufacturability of products.
However, understanding where rapid prototyping ends and production begins is critical to allocating resources wisely.
Rapid Prototyping vs. Production: A Strategic Comparison
| Aspect | Rapid Prototyping | Production Manufacturing |
| Primary Purpose | Validate design concepts, test form, fit, and function, and de-risk before scale-up | Manufacture end-use parts at scale for market distribution |
| Typical Volumes | 1–100+ units per iteration, highly variable | Hundreds to millions of parts |
| Tooling Investment | Minimal or no tooling; designs can change between builds | Significant tooling investment (hardened molds, dies, fixtures) |
| Lead Times | Hours to days for most parts | Weeks to months for tooling; then, continuous runs |
| Materials | Prototype-grade materials; some production-grade options | Production-grade materials, optimized for cost and performance |
| Key Outcome | Learning, iteration, and risk reduction | Scalable, repeatable manufacturing at target unit economics |
This distinction matters because production processes—such as injection molding, die casting, and stamping—require substantial capital investment and long lead times. Teams that skip or shortchange the prototyping phase often face expensive tooling rework, delayed launches, and quality issues at scale. Rapid prototyping exists to catch those problems early, when changes are relatively inexpensive and fast to implement.
The Manufacturing Readiness Ladder: From Concept to Production
A strong analogy for product development is a ladder with distinct rungs. Each rung represents a higher level of manufacturing maturity—in other words, moving from prototype and validation toward full-scale, optimized production.
Rapid prototyping occupies the critical early and middle rungs, where teams validate concepts, refine designs, and prepare for the transition to full-scale production.
The U.S. Department of Defense formalized a framework for the progression with their Manufacturing Readiness Levels (MRLs). For most commercial product teams, a simplified version of this ladder looks something like:
- Concept Validation: Proving that the core idea works with “proof-of-concept prototypes.”
- Design Iteration: Refining a product’s form, fit, and function through multiple prototype cycles.
- Functional Validation: Testing product performance with production-representative materials and geometries.
- Bridge/Pilot Production: Producing small batches of parts or products, leveraging rapid tooling to verify and validate manufacturability.
- Full-Scale Production: Committing to hardened tooling and high-volume manufacturing.
Rapid prototyping techniques are the workhorses of rungs 1–4. They enable teams to climb the ladder efficiently. By catching design flaws, validating material choices, and building confidence early, teams can avoid making the substantial investments required at rung 5 before the project warrants doing so.
Design for Manufacturability (DFM): The Throughline
A central goal of rapid prototyping is to surface manufacturability issues early. Design for Manufacturability (DFM) principles guide teams to optimize designs for efficient, cost-effective production, simplifying geometries, standardizing components, and aligning with the capabilities of downstream processes like injection molding or CNC machining.
By building and testing rapid prototypes, engineers can:
- Identify features that will be difficult or expensive to manufacture at scale.
- Validate that draft angles, wall thicknesses, and tolerances are production-ready.
- Test assembly sequences and spot interference issues before tooling is cut.
- Confirm material performance under real-world conditions.
“Working out the kinks” is a key benefit of rapid prototyping as it reduces the risk of costly tooling changes, recalls, and schedule disruptions.
Categories of Rapid Prototypes and When to Use Them
Depending on the needs of our clients and the requirements of their projects, Fresh’s engineers leverage several variations of rapid prototypes, using advanced technologies and proven industry processes. The techniques discussed below occupy different positions on the Manufacturing Readiness Ladder, each suited to specific validation goals.
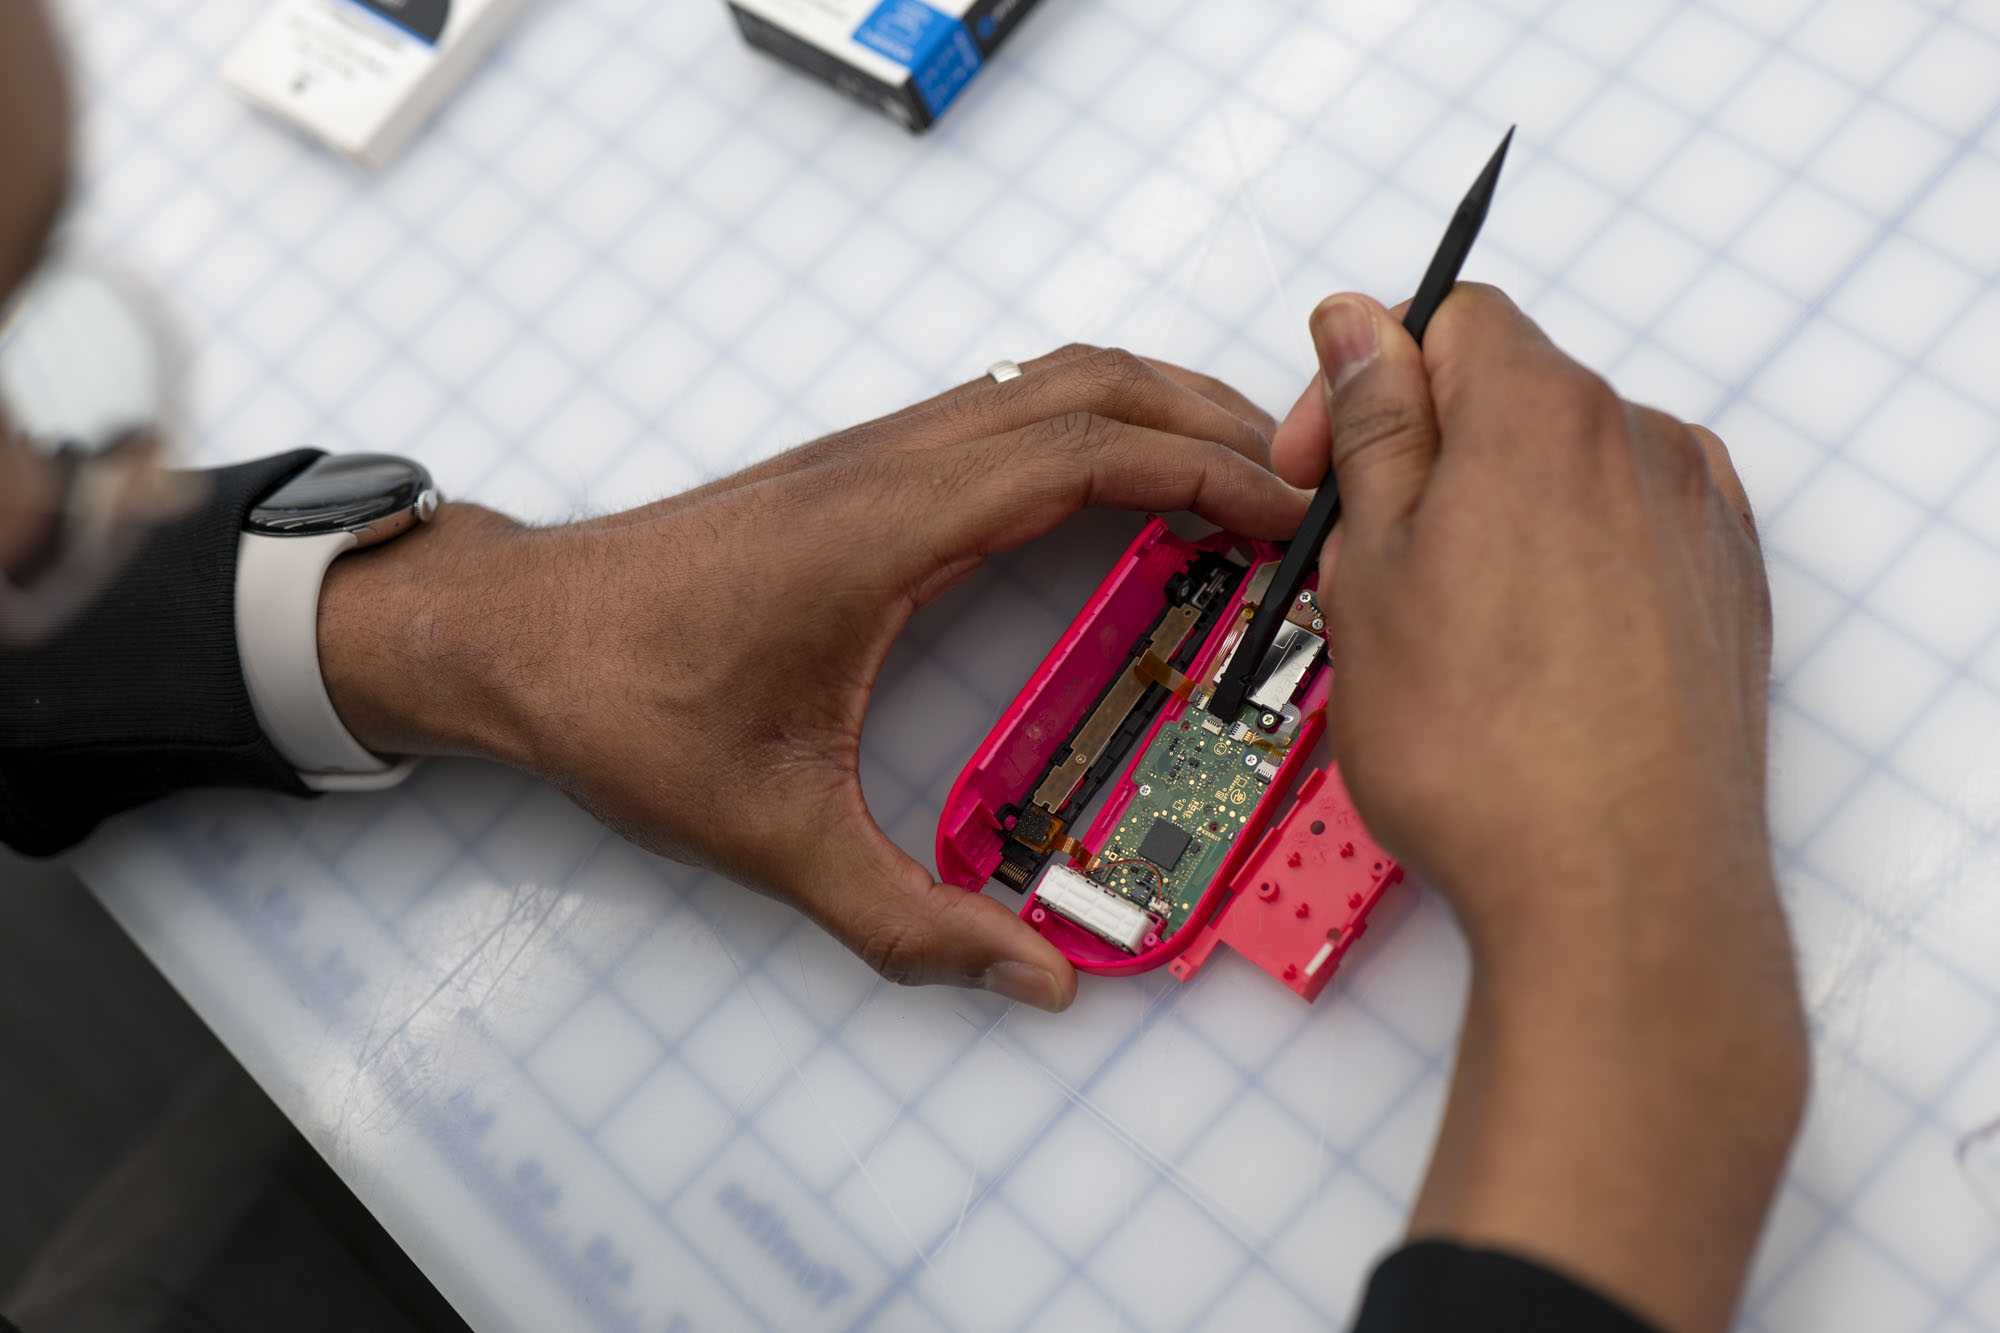
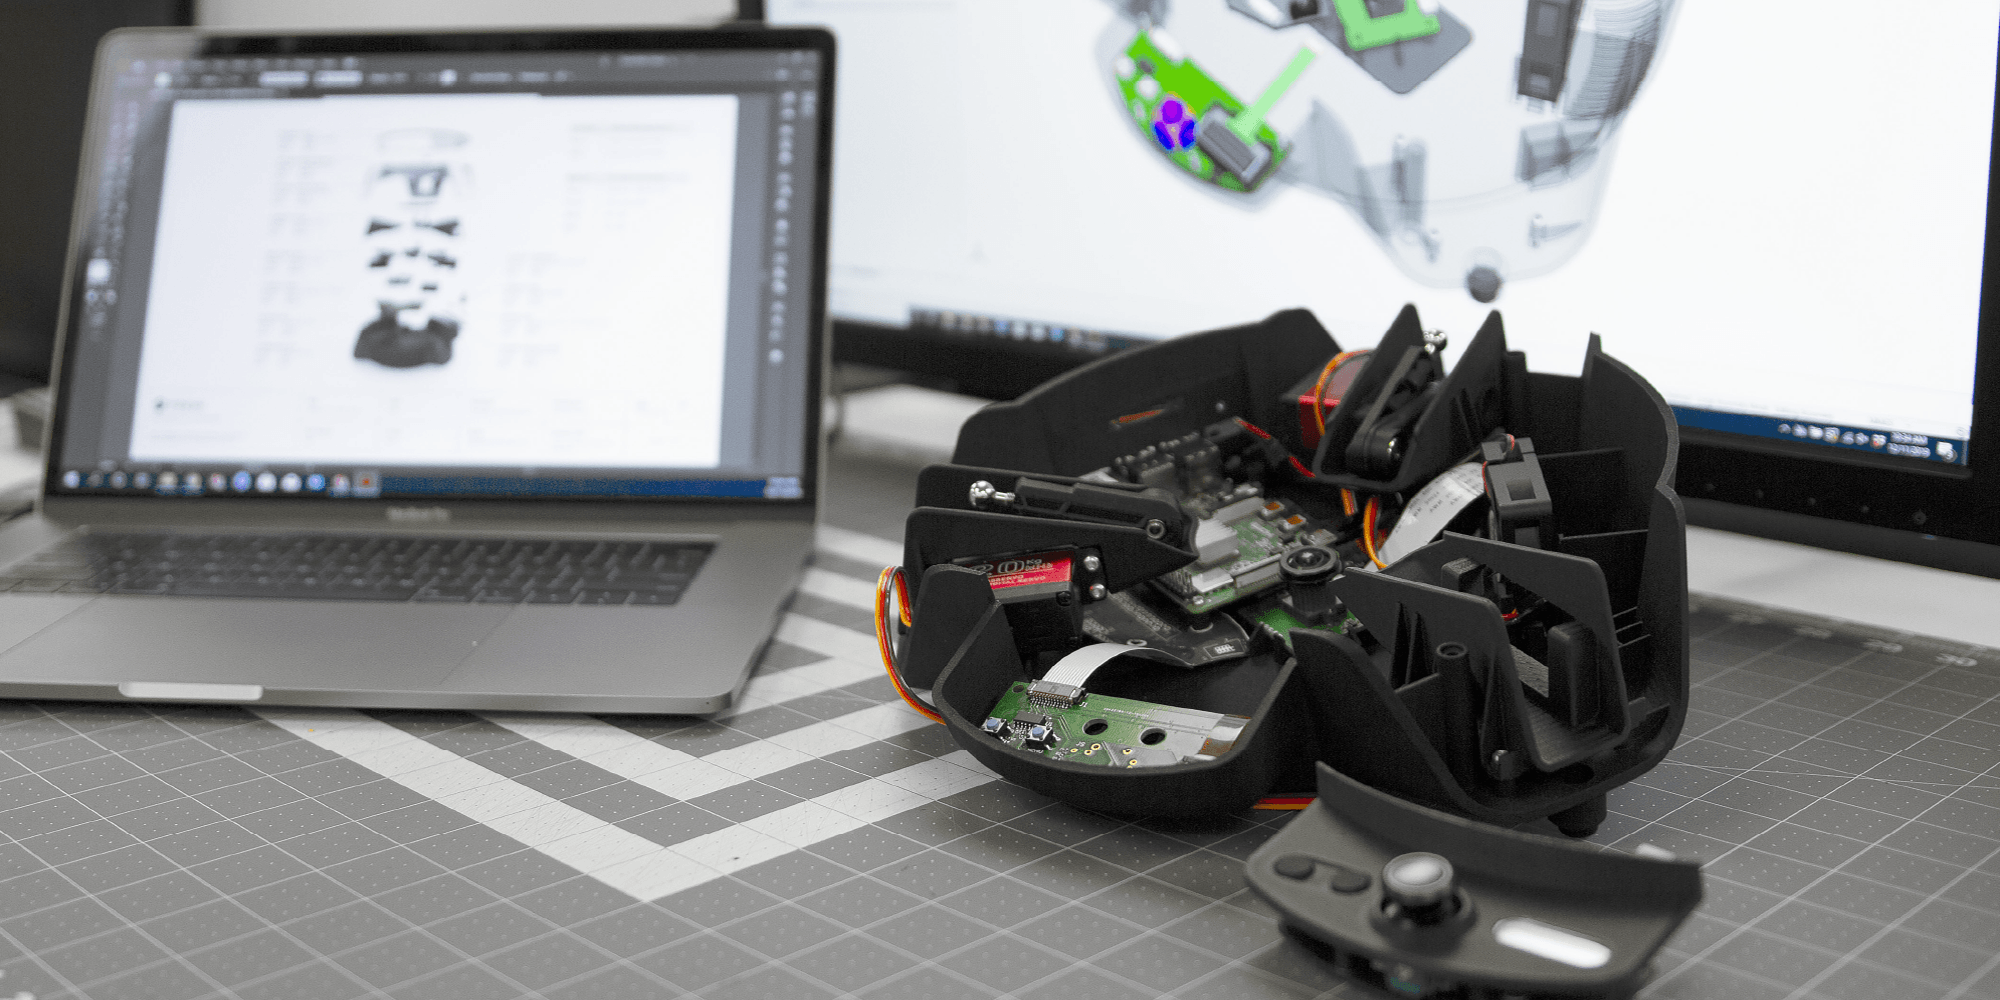
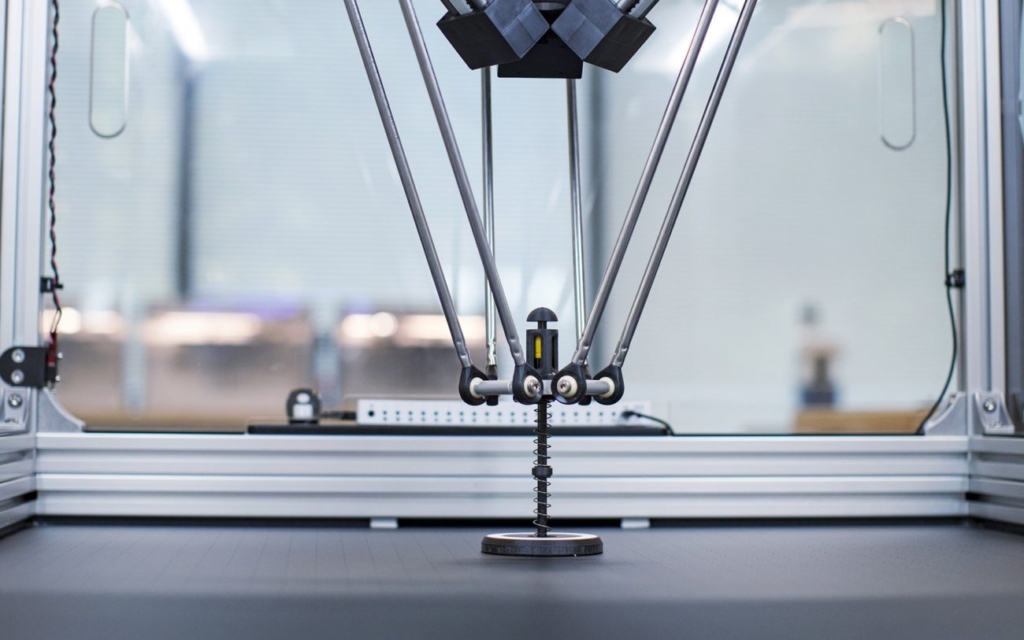
3D Printing (Additive Manufacturing)
3D printing and related additive manufacturing approaches are ideal for fast, cost-effective prototypes with complex geometries. They can be used to create many parts simultaneously and modify geometry between batches. On the Manufacturing Readiness Ladder, 3D printing typically serves rungs 1–3: concept validation, early design iteration, and initial functional testing.
Metal 3D printing works well for intricate designs and internal features like cooling channels, providing proof-of-concept with less expense and faster turnaround than CNC machining. Common 3D printing technologies include:
- Fused Deposition Modeling (FDM): FDM extrudes heated thermoplastic filament layer-by-layer. This method offers a wide range of engineering-grade materials at a low cost, making it ideal for functional prototyping, though it may require support structures.
- Stereolithography (SLA): SLA uses a UV laser to selectively cure liquid photopolymer resin. It produces parts with fine details and smooth surface finishes, minimizing post-processing and delivering near-finished parts ready for testing.
- Selective Laser Sintering (SLS): SLS leverages a high-powered CO₂ laser to sinter polymer powder particles together. SLS requires no support structures, as unsintered powder supports the part. This method produces parts with strong isotropic mechanical properties.
- Direct Metal Laser Sintering (DMLS): DMLS sinters metal powder (typically aluminum or titanium) to build fully functional metal parts with near 100% density; it’s ideal for prototypes requiring high strength and complex internal features.
- Multi Jet Fusion (MJF): MJF deposits fusing and detailing agents onto powder layers, fusing them with infrared energy. MJF produces parts faster and with more consistent mechanical properties than SLS, often comparable to injection-molded parts.
- PolyJet: PolyJet “jets” liquid photopolymers that cure instantly under UV light, enabling multi-material and full-color parts in a single print, offering exceptional precision and aesthetic realism for high-fidelity prototypes.
Mimicking Production Finishes
One valuable application of 3D printing is replicating the surface textures, colors, and finishes of production parts, helping teams evaluate aesthetics and ergonomics before investing in tooling.
Post-processing methods expand the aesthetic palette even further: sanding, chemical smoothing, painting, coating, and hydro-dipping. Color matching is often achieved by using colored filaments and resins or multi-material full-color printing. These product finishing techniques empower teams to create prototypes that look and feel like injection-molded or die-cast production parts without the full-scale tooling investment.
CNC Machining
CNC machining delivers high-precision, functional parts, ideal for testing fit and performance. On the Manufacturing Readiness Ladder, CNC machining serves rungs 2–4: refining designs, validating functional performance, and producing parts in production-grade materials.
- CNC Turning: CNC Turning rotates the workpiece against a cutting tool, ideal for cylindrical components like shafts and bushings.
- CNC Milling: The CNC milling method uses a rotating multi-point cutting tool to remove material, creating complex geometries with holes, slots, and pockets.
- CNC Drilling: CNC drilling creates or refines precise holes.
Water Jet Cutting, Laser Cutting, and Sheet Metal Fabrication
These processes are suitable for prototyping stamped or fabricated metal components, enabling teams to validate flat and formed sheet metal designs before committing to production stamping dies.
- Laser Cutting: The laser cutting process is used to cut flat sheet material with high speed and precision. Best for thinner materials requiring tight tolerances.
- Water Jet Cutting: Water jet cutting leverages a high-pressure stream of water and abrasive particles; ideal for cutting thicker materials and heat-sensitive metals.
- Sheet Metal Bending: Sheet metal bending creates components through stamping and bending; a cost-effective method for simple 3D geometries in small quantities.
Green Sand Casting
Used for producing large, volumetric metal parts, green sand casting offers a cost-effective way to validate cast metal designs before investing in permanent mold or die-casting tooling.
- Horizontal Flask Casting: The horizontal flask casting method produces two-part molds (“cope and drag”) by compressing green sand around a wooden or plastic pattern, separating pattern plates, and closing the mold. Offers economical production of large, complex metal parts with complex internal features.
- Vertical (Flaskless) Molding: Vertical casting compresses green sand between vertical pattern plates, which move together to form the mold cavity; it enables high-speed automated production and efficient handling.
- Hand-Ramming for Large Molds: This method compresses green sand in large floor molds for oversized castings, then automatically pours and handles multiple molds on mold handling equipment for continuous production.
Vacuum Casting
Vacuum casting is useful for consumer parts, offering high-quality surface finishes and capturing intricate features. It typically serves rungs 3–4, producing small batches of parts that closely approximate injection-molded quality using silicone molds and polyurethane resins.
- Silicone Mold Vacuum Casting: This method produces a silicone mold from a 3D-printed or machined master model, then pours two-component polyurethane resin into the mold in a vacuum chamber to eliminate air bubbles. Produces high-quality parts with excellent surface finish and fine detail replication.
- Multi-Material Vacuum Casting: Combines different vacuum-cast materials in layered or sequential casting steps, allowing parts with varying durability and surface properties in a single prototype.
Rapid Investment Casting
For metal prototypes with complex geometry and high fidelity, rapid investment casting allows teams to validate designs with full metallurgical properties. By substituting 3D-printed patterns for traditional wax patterns, lead times can be reduced by weeks to months.
- 3D-Printed Pattern Investment Casting: This approach substitutes 3D-printed thermoplastic or resin patterns for traditional wax patterns, eliminating the need for expensive aluminum tooling; it dramatically reduces lead time while maintaining full metallurgical properties.
- CastForm and Selective Laser Sintering Pattern Casting: This method uses SLS-produced nylon or CastForm polystyrene 3D-printed patterns for investment casting, offering flexible design iteration and cost-effective production of functional metal prototypes in small quantities.
Bridging Prototype to Production: Rapid Tooling
While the techniques above are true rapid prototyping methods, some projects require an additional step: validating designs in the actual production process before committing to full-scale tooling. This is where rapid tooling and bridge production come in—occupying rung 4 on the Manufacturing Readiness Ladder.
Injection molding, die casting, and stamping are production processes—not rapid prototyping methods. However, rapid tooling techniques allow teams to produce production-representative parts using the same materials and processes as final manufacturing, without the full investment in hardened tooling.
- Rapid Prototype Tooling (Aluminum/Simplified Molds): Uses aluminum molds for quick prototype production with production-grade thermoplastics.
- Master Unit Die (MUD) System: Leverages interchangeable inserts in a standard mold base for rapid iteration.
- 3D-Printed Molds: Combines 3D-printed mold cavities with injection molding to bridge early-stage prototypes with production-quality parts.
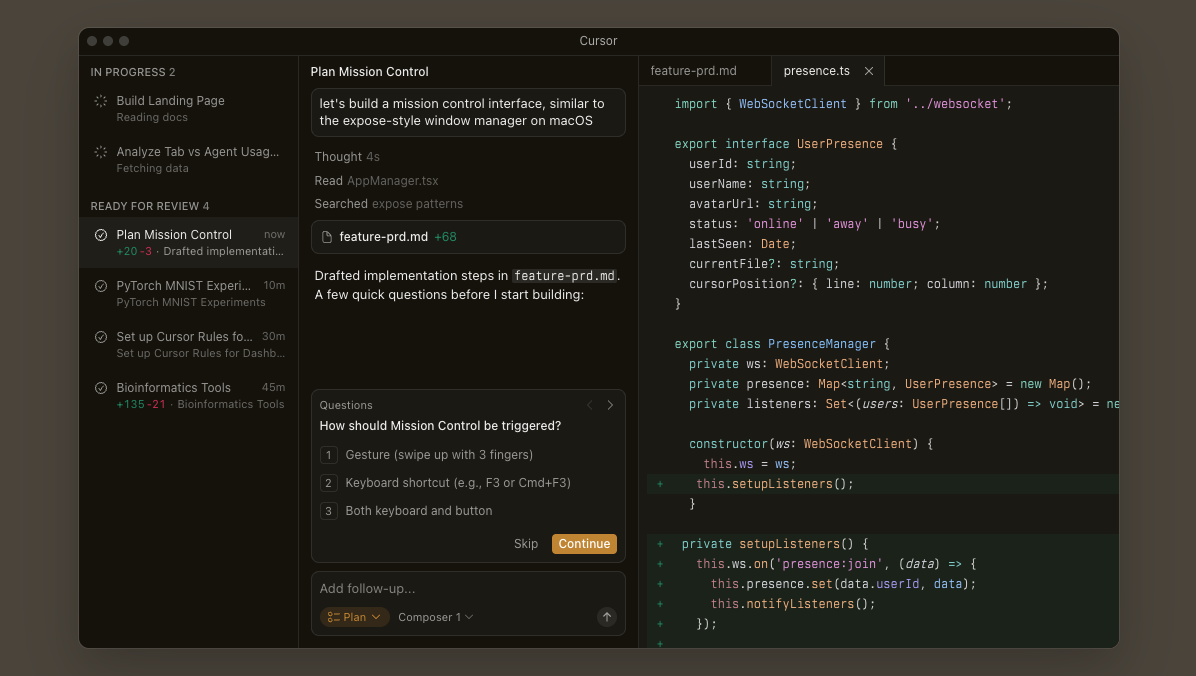
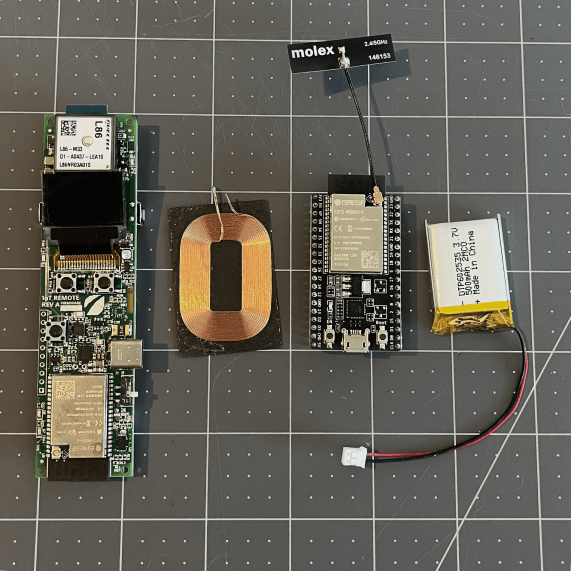
Digital Engineering Tools
Digital engineering tools such as digital twin simulation software and CAD help design, test, and optimize concepts before making physical models. In embedded systems, tools like Proteus, MATLAB/Simulink, and PSpice support circuit and firmware emulation, letting teams validate concepts virtually.
For electronics prototyping, platforms like Arduino/Raspberry Pi work well for early concepts, while custom PCBs are necessary for space constraints and advanced features.
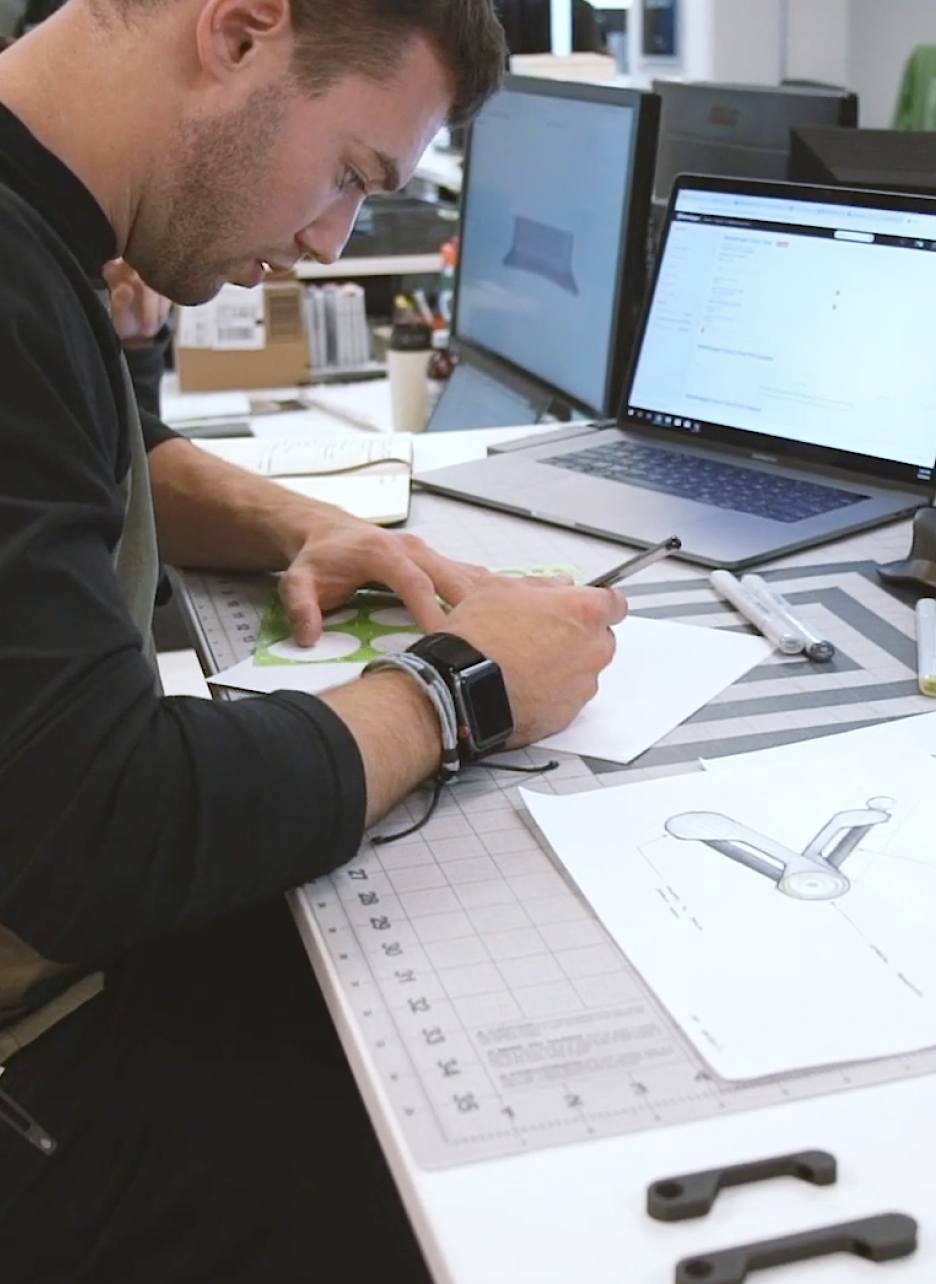
Rapid Prototype Variations: From Concept to Engineering Validation
Understanding the intent of a prototype is just as important as the method used to build it.
Proof-of-Concept Prototypes
Goal = Verify key functionality.
Proof-of-Concept prototypes are basic, functional models that let engineers test feasibility and resolve uncertainty. For example, in AgTech, engineers might test an automated irrigation mechanism to demonstrate feasibility before full system integration.
Looks-like Prototypes
Goal = Visual and ergonomic validation.
Looks-like prototypes closely emulate the final product’s appearance. An industrial design team might 3D print a wearable medical device to refine comfort and visual appeal, focusing on form over function.
Works-like Prototypes
Goal = Functional performance testing.
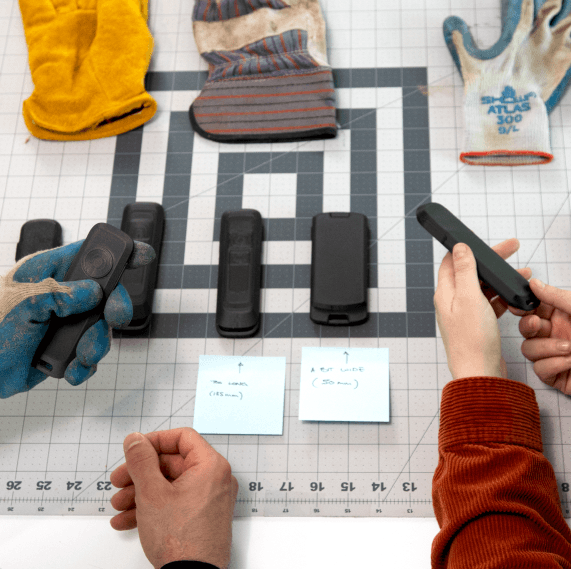
Works-like prototypes replicate final product functionality. Engineers may use off-the-shelf boards or custom mounts to iterate on mechanics and electronics, even if the final product will use custom components.
Engineering Prototypes (MVPs)
Goal = The final check.
Engineering prototypes, or MVPs, combine looks-like and works-like approaches using planned production materials. They act as the last check before mass production, undergoing rigorous reliability testing to identify potential manufacturing issues.

Benefits of Rapid Prototyping Across Industries
Rapid prototyping powers innovation, cost management, and risk reduction in fields ranging from automotive and medical devices to aerospace and robotics.
#1: Fast, Cost-Effective Exploration
Mechanical engineers can 3D print several versions of mechanical parts overnight, enabling side-by-side evaluation of features like fit or ergonomics. This dramatically reduces the time and cost required to iterate on concepts.
#2: Minimizing Risk and Development Time
Building and testing prototypes early makes it easier to identify and fix design flaws before committing to expensive tooling. In medical device development, for example, this early detection minimizes the risk of expensive recalls and regulatory delays.
#3: Improved Stakeholder Collaboration
Tangible prototypes create a communication bridge. While technical drawings might be clear to engineers, stakeholders benefit from handling physical parts, facilitating faster approvals and alignment.
#4: Iterative Design for Better Quality
Rapid prototyping enables faster adjustments. Based on testing and feedback, teams can revise CAD designs and produce improved prototypes within days, positioning companies to capitalize on market opportunities.
How Fresh Approaches Rapid Prototyping
Fresh’s interdisciplinary approach brings together industrial design, mechanical, electrical, firmware, and software engineering. We adapt our techniques to each project’s needs, maximizing speed and innovation through a holistic, “under-one-roof” team.
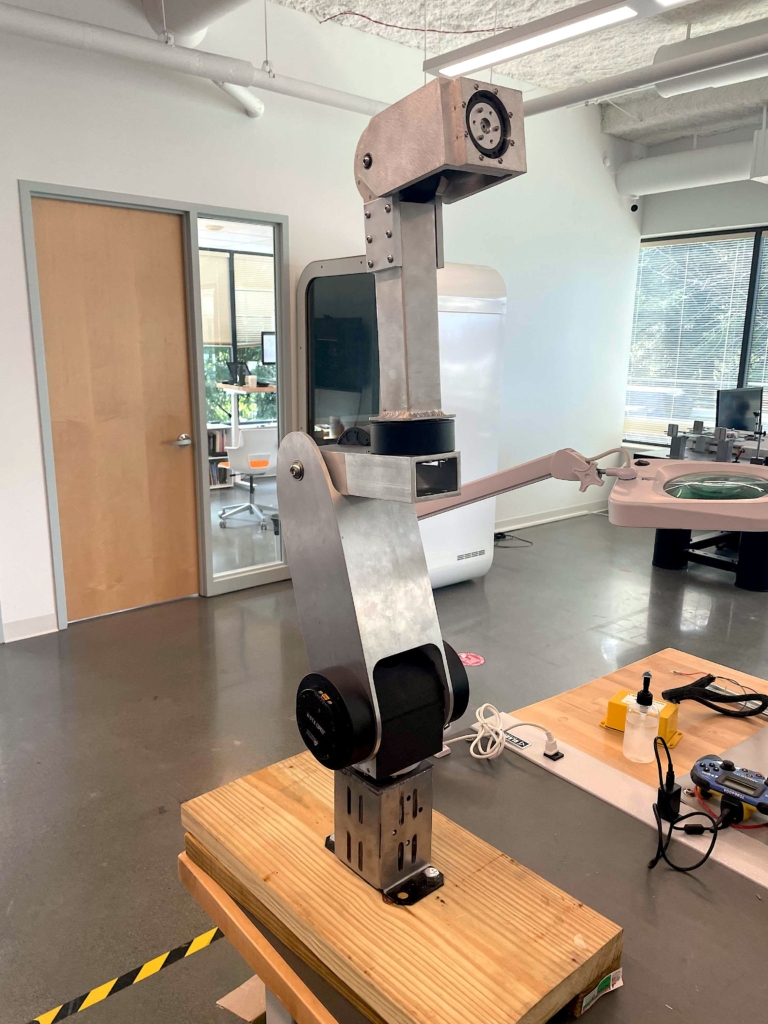
Our team has been fortunate to work on a range of rapid prototyping projects, including:
- Venue kiosks
- Containerized systems
- Mobile robot homes
- Custom micro-actuators
- Custom construction vehicles
- Automated devices for the food industry
Common Rapid Prototyping Process Steps
For customers with a well-defined project concept, the process typically follows these 6 steps.
NDA-Protected Consultation
An initial meeting to explore the client’s vision, technical goals, and business needs, assessing feasibility and potential strategies.
Scope of Work (SOW) Delivery
A detailed SOW outlines deliverables, milestones, costs, and resources, serving as the project roadmap.
Iterative Collaboration
A structured workflow with regular meetings to discuss progress, review prototypes, and address feedback
Design Lock
The final product design—specifications, materials, aesthetics—is formally approved, establishing a baseline for production.
Prototype Creation
The approved design is translated into a physical prototype using techniques like 3D printing or CNC machining.
Prototyping Testing
The prototype enters structured testing to evaluate accuracy, performance, safety, and regulatory compliance (EVT, DVT, PVT).
Go/No-Go
A key outcome is the “Go/No-Go” decision, offering the customer a clear data point on whether the product idea is worth the follow-on development effort.


5 best practices for creating rapid prototypes
#1: Set clear objectives
Each prototype iteration should have specific, measurable goals. Maintaining comprehensive documentation enables teams to build on previous work without redundant effort.
To make this practical, at Fresh, we typically tie prototypes to specific lines in the Product Requirements Document (PRD). If a prototype is built without a clear “definition of done,” it risks becoming a scope-creep experiment rather than a validation tool. Avoid viewing documentation as paperwork; rather, view it as the story of your product, which will allow future engineers to understand exactly why a design decision was made in previous versions.
#2: Break complex systems into modules
Modular design allows components to be tested in parallel, compressing development timelines.
This approach brings something akin to Agile methodology into hardware. By decoupling subsystems—like separating the battery management system from the chassis design—your electrical and mechanical teams can sprint in parallel without blocking each other. This turns a linear “waterfall” timeline into a faster, concurrent development process.
#3: Select the right fabrication technology
Align technology with the prototype’s specific purpose—early concept validation vs. functional testing—to optimize resources.
The goal is “fidelity matching,” ensuring your prototype method matches the question you are asking. Using an expensive CNC part to test simple ergonomics is probably a waste of budget, but using a beginner method like PLA (Polylactic Acid) 3D printing to test thermal resistance will yield dangerous false negatives.
A useful question to always ask: “Does this material property distort the test result?” Then, adjust accordingly.
#4: Prioritize thorough testing
Comprehensive testing—including things like dimensional verification, material property assessment, functional performance under specific conditions, and edge-case stress testing—reveals design flaws and manufacturing limitations long before committing to expensive production tooling.
This is where rapid prototyping intersects with Failure Mode and Effects Analysis (FMEA). While FMEA identifies theoretical risks and potential failure points on paper, your prototype provides the physical evidence to validate those risks. We recommend using your FMEA to prioritize which features to prototype first, targeting the highest-risk areas to “fail fast” and engineer out defects early.
#5: Assess security and power early
For electronics, integrating security audits and power profiling into early iterations ensures production designs are resilient and efficient.
Adhering to the “Secure by Design” concept is a useful starting point. Leaving firmware security or power optimization for the final production spin can create massive (and unnecessary) technical debt. By profiling power consumption on your earliest “works-like” PCBA, you can size your battery accurately early on, avoiding the nightmare of trying to cram a larger battery into a locked mechanical enclosure later.

Should every client invest in a rapid prototype?
We don’t recommend jumping straight into rapid prototyping build for all of our customers. While the advantages are extensive, specific scenarios might make it redundant:
- Updating an existing product: If the product is well-validated and needs only minor changes, rapid prototyping may be unnecessary.
- Clear, proven requirements: If previous projects have established well-understood requirements and tolerances, speed to market might actually be inhibited by redundant prototyping.
- Strict time-to-market needs: If robust digital twin simulations provide enough confidence and the launch window is narrow, prototyping might be bypassed.
Ready to Start Prototyping?
If you have a product concept and need help to bring it to its full potential, the team at Fresh is here to help. We look forward to hearing from you and discussing next steps.
Rapid prototyping is evolving fast. New materials, advances in AI, and cloud-based collaboration tools are making prototypes more functional and realistic than ever. Stay tuned for a follow-up post on these emerging methods and how we approach them at Fresh.