Article
Modernizing WordPress Development with Sage 9 – Part 1

July 12, 2018 ...

At Fresh Consulting, we’ve been using Sage as THE starter theme for some time now. Sage itself has been pushing WordPress development on more modern technologies. And with Sage 9, this has become a big step in WordPress development.
Some aspects of the development workflow for WordPress are ancient and obsolete. This is where Sage 9 comes in – a new development method that serves to modernize the process.
Introducing Sage 9
As stated previously, Sage 9 simply modernizes the WordPress development workflow, and isn’t in itself a full-fledged theme framework. With Sage 9, it will enable you to:
- Use
composerfor PHP Packages management - Use
yarnfor front-end (JavaScript/CSS) packages management - Write stylesheet easier with SASS
- Build and optimize resources
- Utilize the Blade Template Engine
The Blade Template Engine complete separates Views and Controllers. NO MORE LOGIC SPAGHETTI IN TEMPLATE FILES. And as a bonus, Sage 9 includes a Models package (soberwp/models) for data modeling, Custom Post Types, and Custom Taxonomies.
More on Views and Controllers
Sage 9 utilized the already-popular Blade Template Engine from Laravel. Yes, that Blade syntax is compatible with WordPress now! Sage also has controller functionality to work alongside Blade.
While the Controller is included with Sage 9, it’s not the actual controller we’re familiar with in other frameworks. Instead of URL-based routing, Sage 9 Controllers use template-based routing. That means you let WordPress handle URL routing (which is good due to being less compromised) and you write controllers for template files.
Remember that Sage 9 requires a modern server, with the following requirements:
- WordPress 4.7 or higher
- PHP 7.1.3 or higher (with mbstring enabled)
- Composer
- Node.js 6.9 or higher
- Yarn
We also highly recommended using version control software such as Git to control your source code (a provider like BitBucket also offers Pipelines that you can configure for auto deployment later).
Create a new project with Sage 9
To start with Sage 9, after you installed a copy of WordPress, fire up your terminal (or command prompt, PowerShell, etc.) and cd to the theme directory with cd mywordpresspathwp-contentthemes and then run composer create-project to start a new project. An example is as follows:
$ composer create-project roots/sage your-theme-name
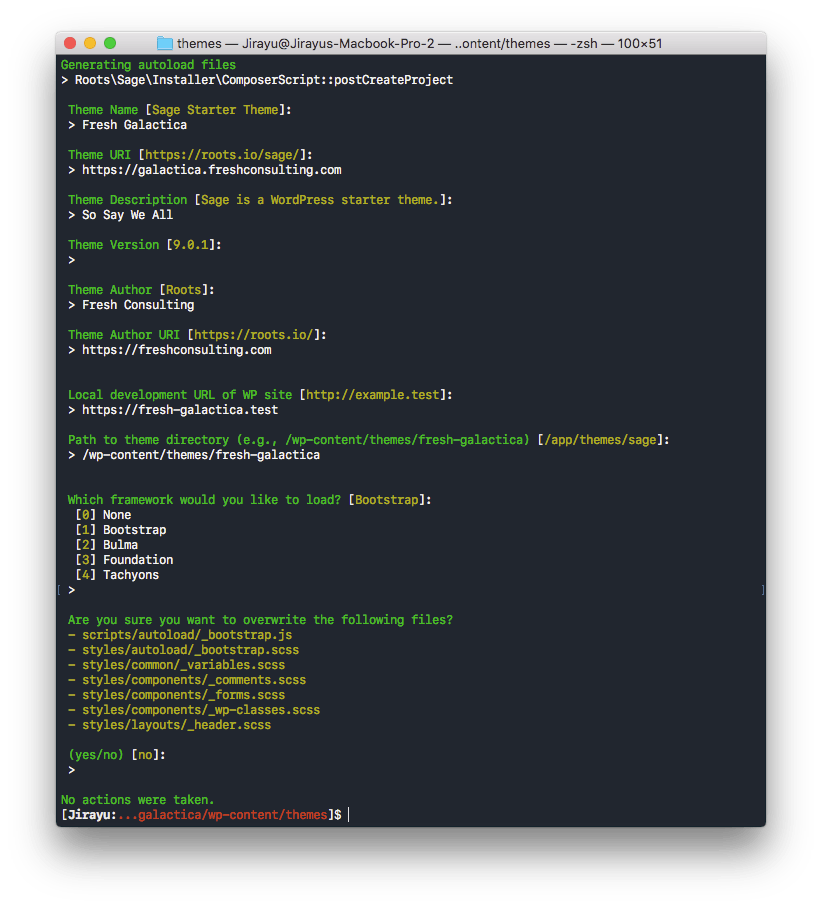
Composer will ask you a few questions about this project. Most questions will have a predefined answer in place (dark-yellow text) and you can just hit enter. But we recommend taking a closer look to ensure that the answer is correct given that the right answer is context-dependent. For example:
Local development URL of WP SiteYou must specify the actual local URL (https://localhost/web or https://web.test depends on your configuration) in order to make Browser-sync works.Path to the directory (e.g., /wp-content/themes/freshconsulting)Unless you are using Bedrock, you should type the same path as in braces. Don’t use predefined path.
composer will then create a new project (new theme) and install all necessary PHP packages. At this point, you’re already halfway to being finished. To get even closer, go back to the terminal and cd into your theme directory:
$ cd your-theme-name
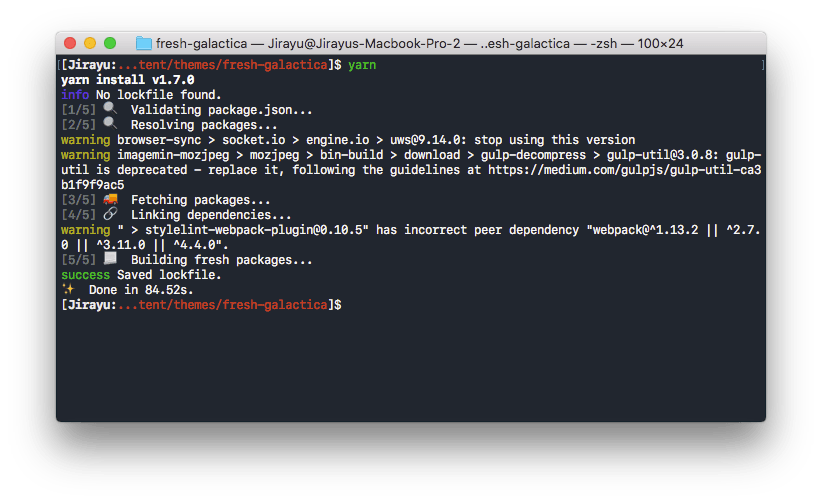
Next, run yarn to install the necessary JavaScript packages. After that, run yarn run build to start building theme resources. Then you’re good to go.
Sage 9 Files Structure
Once you’ve navigated into a theme directory, you might notice that all necessary files like style.css and index.php aren’t there! Don’t panic. This is INTENDED. Sage 9 managed to move these files into an inner directory. That means that the Sage 9 file structure will be quite different from traditional theme files we are all familiar with. But once you get used to it, you’ll reap the benefits of working with Sage 9 and all of its efficiencies.
Sage 9 consists of 3 core directories you can touch, and 3 or 4 just-leave-it-be directories – ones you don’t manually touch it at all.
Core directories
./appThis directory contains all the logic/magic in our theme including Controllers (which is located inside thecontrollersdirectory). There are normally 4 files inside this directory:admin.phpThe main reason this file exists is to register the Theme Customizer. But if you have you Admin stuff (like your own options page), you can place your code here.filters.phpAll the filters you use (such as modify excerpt text or ACF filters) should be inside this file.helpers.phpContains all helper functions. You probably notice a functionasset_path()here. This function is for getting the compiled resource file path (…more on this later).setup.phpTheme setup-related stuff, such as register menu location, register sidebar, register new image size
./configThis directory contains theme (project) configuration such as a path to store stuff (compiled resources, compiled template, etc) Normally this directory is no need to be touched../resourcesThis directory contains the actual template stuff. We put things like SCSS, JavaScript, and Images inside theassetsdirectory. and put template files insideviewsdirectory
Just-leave-it-be directories
./distAll compiled assets will be placed inside this directory../node_modulesStore packages installed byyarn./vendorStore packages installed bycomposer
Add your custom PHP files
Normally, Sage 9 uses composer to manage project dependencies, But in some circumstances, you might want to add your own PHP files into the project (such as a class file you wrote or a library that’s unfortunately not on Packagist)
To achieve this, put your files anywhere inside the ./app directory (but not in controllers directory) then edit ./resources/functions.php in Sage required files section (around line 61). Add your file path (related to ./app directory) as a new array value without .php extension. Then you are good to go.
As an example, I’ve added a class file at ./app/classes/Bootstrap_Nav_Walker.class.php. The next step would be to edit the functions file and add new values, illustrated in the example below:
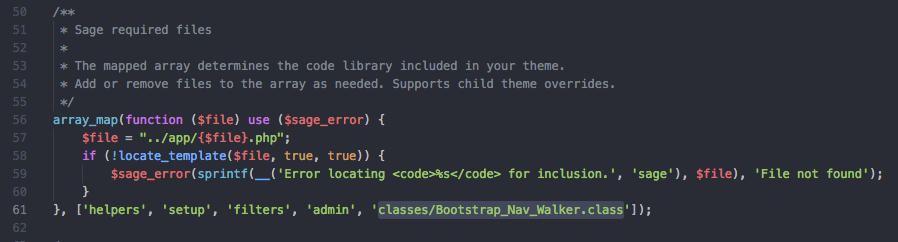
Sage 9 will automatically include these files when it’s being executed.
To be continued in Part 2
Oh wait…this is a multi-part blog post? That’s right! Sage 9 is rich with helpful functionality, and to cover it in one blog post would be doing a disservice to this cutting-edge WordPress development method.
In Part 2, we’ll dive into the Blade Template Engine. This engine offers a new way to write a template with less spaghetti. And with Controllers (which we’ll discuss in Part 3 of the series), we can now completely separate logic from the presentation layer.
To be continued!