Article
How to Create Drag and Drop Cells in Swift using an UILongPressGestureRecognizer
While working on a recent project for a client, I needed to implement a drag and drop table view for moving cells around. As I did some research, I found a great tutorial on www.raywenderlich.com. The only problem was that it was in Objective-C and I was writing my project in Swift.
I couldn’t just simply translate the syntax and have it all working properly because of differences between the two. So, I created this tutorial on how to create a drag and drop UITableView in Swift using a UILongPressGestureRecognizer.
I’m going to assume that you know how to make a UITableView and fill it with data. If not, I have provided a starter project with an UITableViewController filled with some data from an Array. You can download the starter project here.
The first thing you need to do is add a gesture recognizer to the tableView.
In ViewDidLoad() add the following code:
[code]let longpress = UILongPressGestureRecognizer(target: self, action: “longPressGestureRecognized:”)
tableView.addGestureRecognizer(longpress)[/code]
Now, add the longPressGestureRecognized function with the follow code:
[code]func longPressGestureRecognized(gestureRecognizer: UIGestureRecognizer) {
}[/code]
Inside the longPressGestureRecognized() function, start by getting the location of the gesture in the table view and the corresponding tableViewCell.
Add the following code inside the longPressGestureRecognized() function:
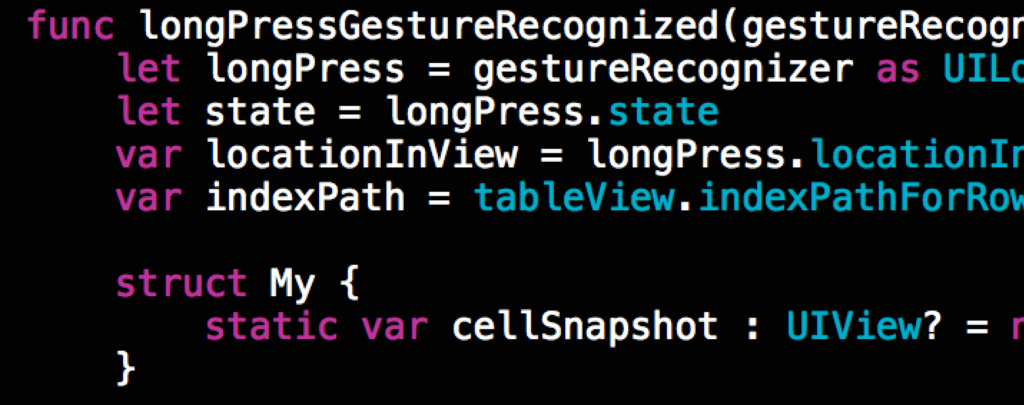
[code]let longPress = gestureRecognizer as UILongPressGestureRecognizer
let state = longPress.state
var locationInView = longPress.locationInView(tableView)
var indexPath = tableView.indexPathForRowAtPoint(locationInView)[/code]
Next, create a switch statement beginning with UIGestureRecognizerState.Began. Check that the index path is not nil. If not, then take a snapshot of the cell with a forthcoming method, add the snapshot of the cell to the view and hide the cell.
But first, create some variables for the cell snapshot and the initial index path. These variables need to be structs so that we can access their values later in the code. (This is something that wasn’t necessary in Objective-C.) Add the following code to the bottom of the longPressGestureRecognized() function:
[code]
struct My {
static var cellSnapshot : UIView? = nil
}
struct Path {
static var initialIndexPath : NSIndexPath? = nil
}[/code]
Now add this code below that:
[code]switch state {
case UIGestureRecognizerState.Began:
if indexPath != nil {
Path.initialIndexPath = indexPath
let cell = tableView.cellForRowAtIndexPath(indexPath!) as UITableViewCell!
My.cellSnapshot = snapshopOfCell(cell)
var center = cell.center
My.cellSnapshot!.center = center
My.cellSnapshot!.alpha = 0.0
tableView.addSubview(My.cellSnapshot!)
UIView.animateWithDuration(0.25, animations: { () -> Void in
center.y = locationInView.y
My.cellSnapshot!.center = center
My.cellSnapshot!.transform = CGAffineTransformMakeScale(1.05, 1.05)
My.cellSnapshot!.alpha = 0.98
cell.alpha = 0.0
}, completion: { (finished) -> Void in
if finished {
cell.hidden = true
}
})
}[/code]
To add the snapshot function, enter the following code below the longPressGestureRecognized() function:
[code]func snapshopOfCell(inputView: UIView) -> UIView {
UIGraphicsBeginImageContextWithOptions(inputView.bounds.size, false, 0.0)
inputView.layer.renderInContext(UIGraphicsGetCurrentContext())
let image = UIGraphicsGetImageFromCurrentImageContext() as UIImage
UIGraphicsEndImageContext()
let cellSnapshot : UIView = UIImageView(image: image)
cellSnapshot.layer.masksToBounds = false
cellSnapshot.layer.cornerRadius = 0.0
cellSnapshot.layer.shadowOffset = CGSizeMake(-5.0, 0.0)
cellSnapshot.layer.shadowRadius = 5.0
cellSnapshot.layer.shadowOpacity = 0.4
return cellSnapshot
}[/code]
Next , we need the logic for when the user’s finger moves. If the indexPath is different than the initial indexPath, swap cells and update the data source.
As part of the next piece of the switch statement in longPressGestureRecognized(), add the follow code:
[code]
case UIGestureRecognizerState.Changed:
var center = My.cellSnapshot!.center
center.y = locationInView.y
My.cellSnapshot!.center = center
if ((indexPath != nil) && (indexPath != Path.initialIndexPath)) {
swap(&itemsArray[indexPath!.row], &itemsArray[Path.initialIndexPath!.row])
tableView.moveRowAtIndexPath(Path.initialIndexPath!, toIndexPath: indexPath!)
Path.initialIndexPath = indexPath
}[/code]
Finally, clean everything up with some nice animations. For this, use the switch statement default.
Add the following code to the last part of the switch statement in longPressGestureRecognized():
[code]
default:
let cell = tableView.cellForRowAtIndexPath(Path.initialIndexPath!) as UITableViewCell!
cell.hidden = false
cell.alpha = 0.0
UIView.animateWithDuration(0.25, animations: { () -> Void in
My.cellSnapshot!.center = cell.center
My.cellSnapshot!.transform = CGAffineTransformIdentity
My.cellSnapshot!.alpha = 0.0
cell.alpha = 1.0
}, completion: { (finished) -> Void in
if finished {
Path.initialIndexPath = nil
My.cellSnapshot!.removeFromSuperview()
My.cellSnapshot = nil
}
})[/code]
That’s it. Test out your code for bugs. If you would like to see my source code for the complete project then go here.
UPDATE: See the comments below for updates to the code above!


